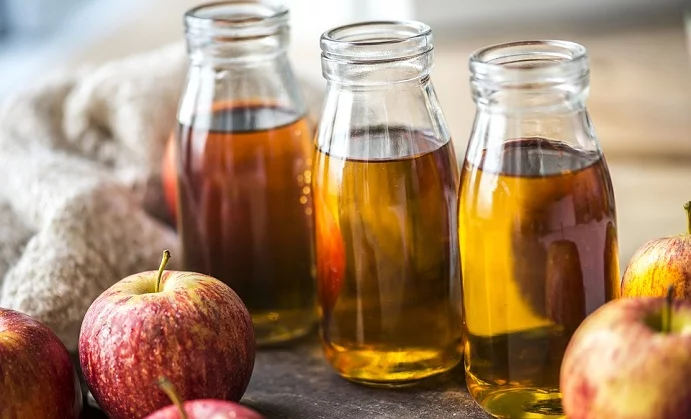
Apple Cider Vinegar (ACV) is a miracle product. It offers tremendous health benefits and adds a delightful tang to dishes. If you are a fan of this vinegar but conscious of your health, then you may want to consider making your own. This homemade ACV recipe is exceptionally easy to follow and the resulting product will not contain any questionable ingredients. Hence, you can enjoy the distinguished flavor without worrying about potential side effects. Continue reading for the recipe to this healthy homemade ACV.
What You’ll Need:
- A large, glass jar (a half gallon mason jar will work best)
- Cheesecloth
- An elastic band to secure the cheesecloth to the jar
- A glass weight (this will keep the apples below the water’s surface)
- Fresh, organic apples
- Filtered water
- 2 – 3 tablespoons of raw cane sugar per half gallon jar.
Step 1 – Prepping Your ACV
Prepping your area – Clean your utensils, jar, and countertops with warm, soapy water. Let everything air-dry before assembling. Properly cleaning your workspace will ensure that bad bacteria is not present during the fermentation process.
Prepping your apples – Rinse your apples in cold water and wipe off any dirt and/or residue. As a rule of thumb, use unbruised apples. If you only have bruised or blemished ones, then cut off these unappealing bits.
Tip: You can use whole, diced apples or only the apple skins for this Apple Cider Vinegar.
Step 2 – Assembling Your ACV
Toss your clean, diced apples or apple skins into the mason jar until it is ¾ full.
Pour the filtered water into the jar until the apples are fully covered. Sprinkle over the sugar. The sugar is a source of food for beneficial bacteria, allowing the fermentation process to take place. Beneficial bacteria offers many nutritional benefits.
You will need a glass fermentation weight to submerge the apples below the water. If you can’t get a hold of one, then you will need to get a little creative. Many people use a clean zip-lock bag filled with water and a sterilized rock. Ensure that your weight submerges all of the apples and that no parts are exposed to the air. This can encourage the growth of mold which will spoil your ACV.
Secure a doubled-up piece of cheesecloth to the top of the jar with an elastic band. This will keep fruit flies and other bugs out of your concoction.
Step 3 – Letting It Ferment
Stash your mixture, away from direct sunlight, in a room-temperature environment (approximately 70°F). Anywhere colder will make the fermentation process take longer. Leave it to ferment for 4 weeks.
If, after 3 days, little bubbles start to form then the process is working! This is an indication that the beneficial bacteria are converting the sugars into CO2.
Check on your brew every couple of days to make sure that the apples are still submerged. The soon-to-be ACV may smell sweet in the beginning, however, it will start to smell sourer as the process takes place.
Step 4 – Straining & Storing Your ACV
A substance called “mother” may form on the top of the jar. This is a sign that the fermentation process is underway. This substance can be stored in a jar with ACV to be used as a starter culture for your next batch!
After 4 weeks, your ACV will be ready to strain. Remove your weight and squeeze out as much of the apples as possible using a cheesecloth.
Pour the strained liquid back into the jar and cover with the cheesecloth. Leave the ACV to ferment for a further 2 – 3 weeks, stirring every other day.
Taste the ACV after the second fermentation. If you are happy with the taste, then bottle and seal it. Start enjoying your home-made Apple Cider Vinegar in a variety of exciting ways!